Everyday Sourdough Boule or Batard: A Lower-Hydration Approach
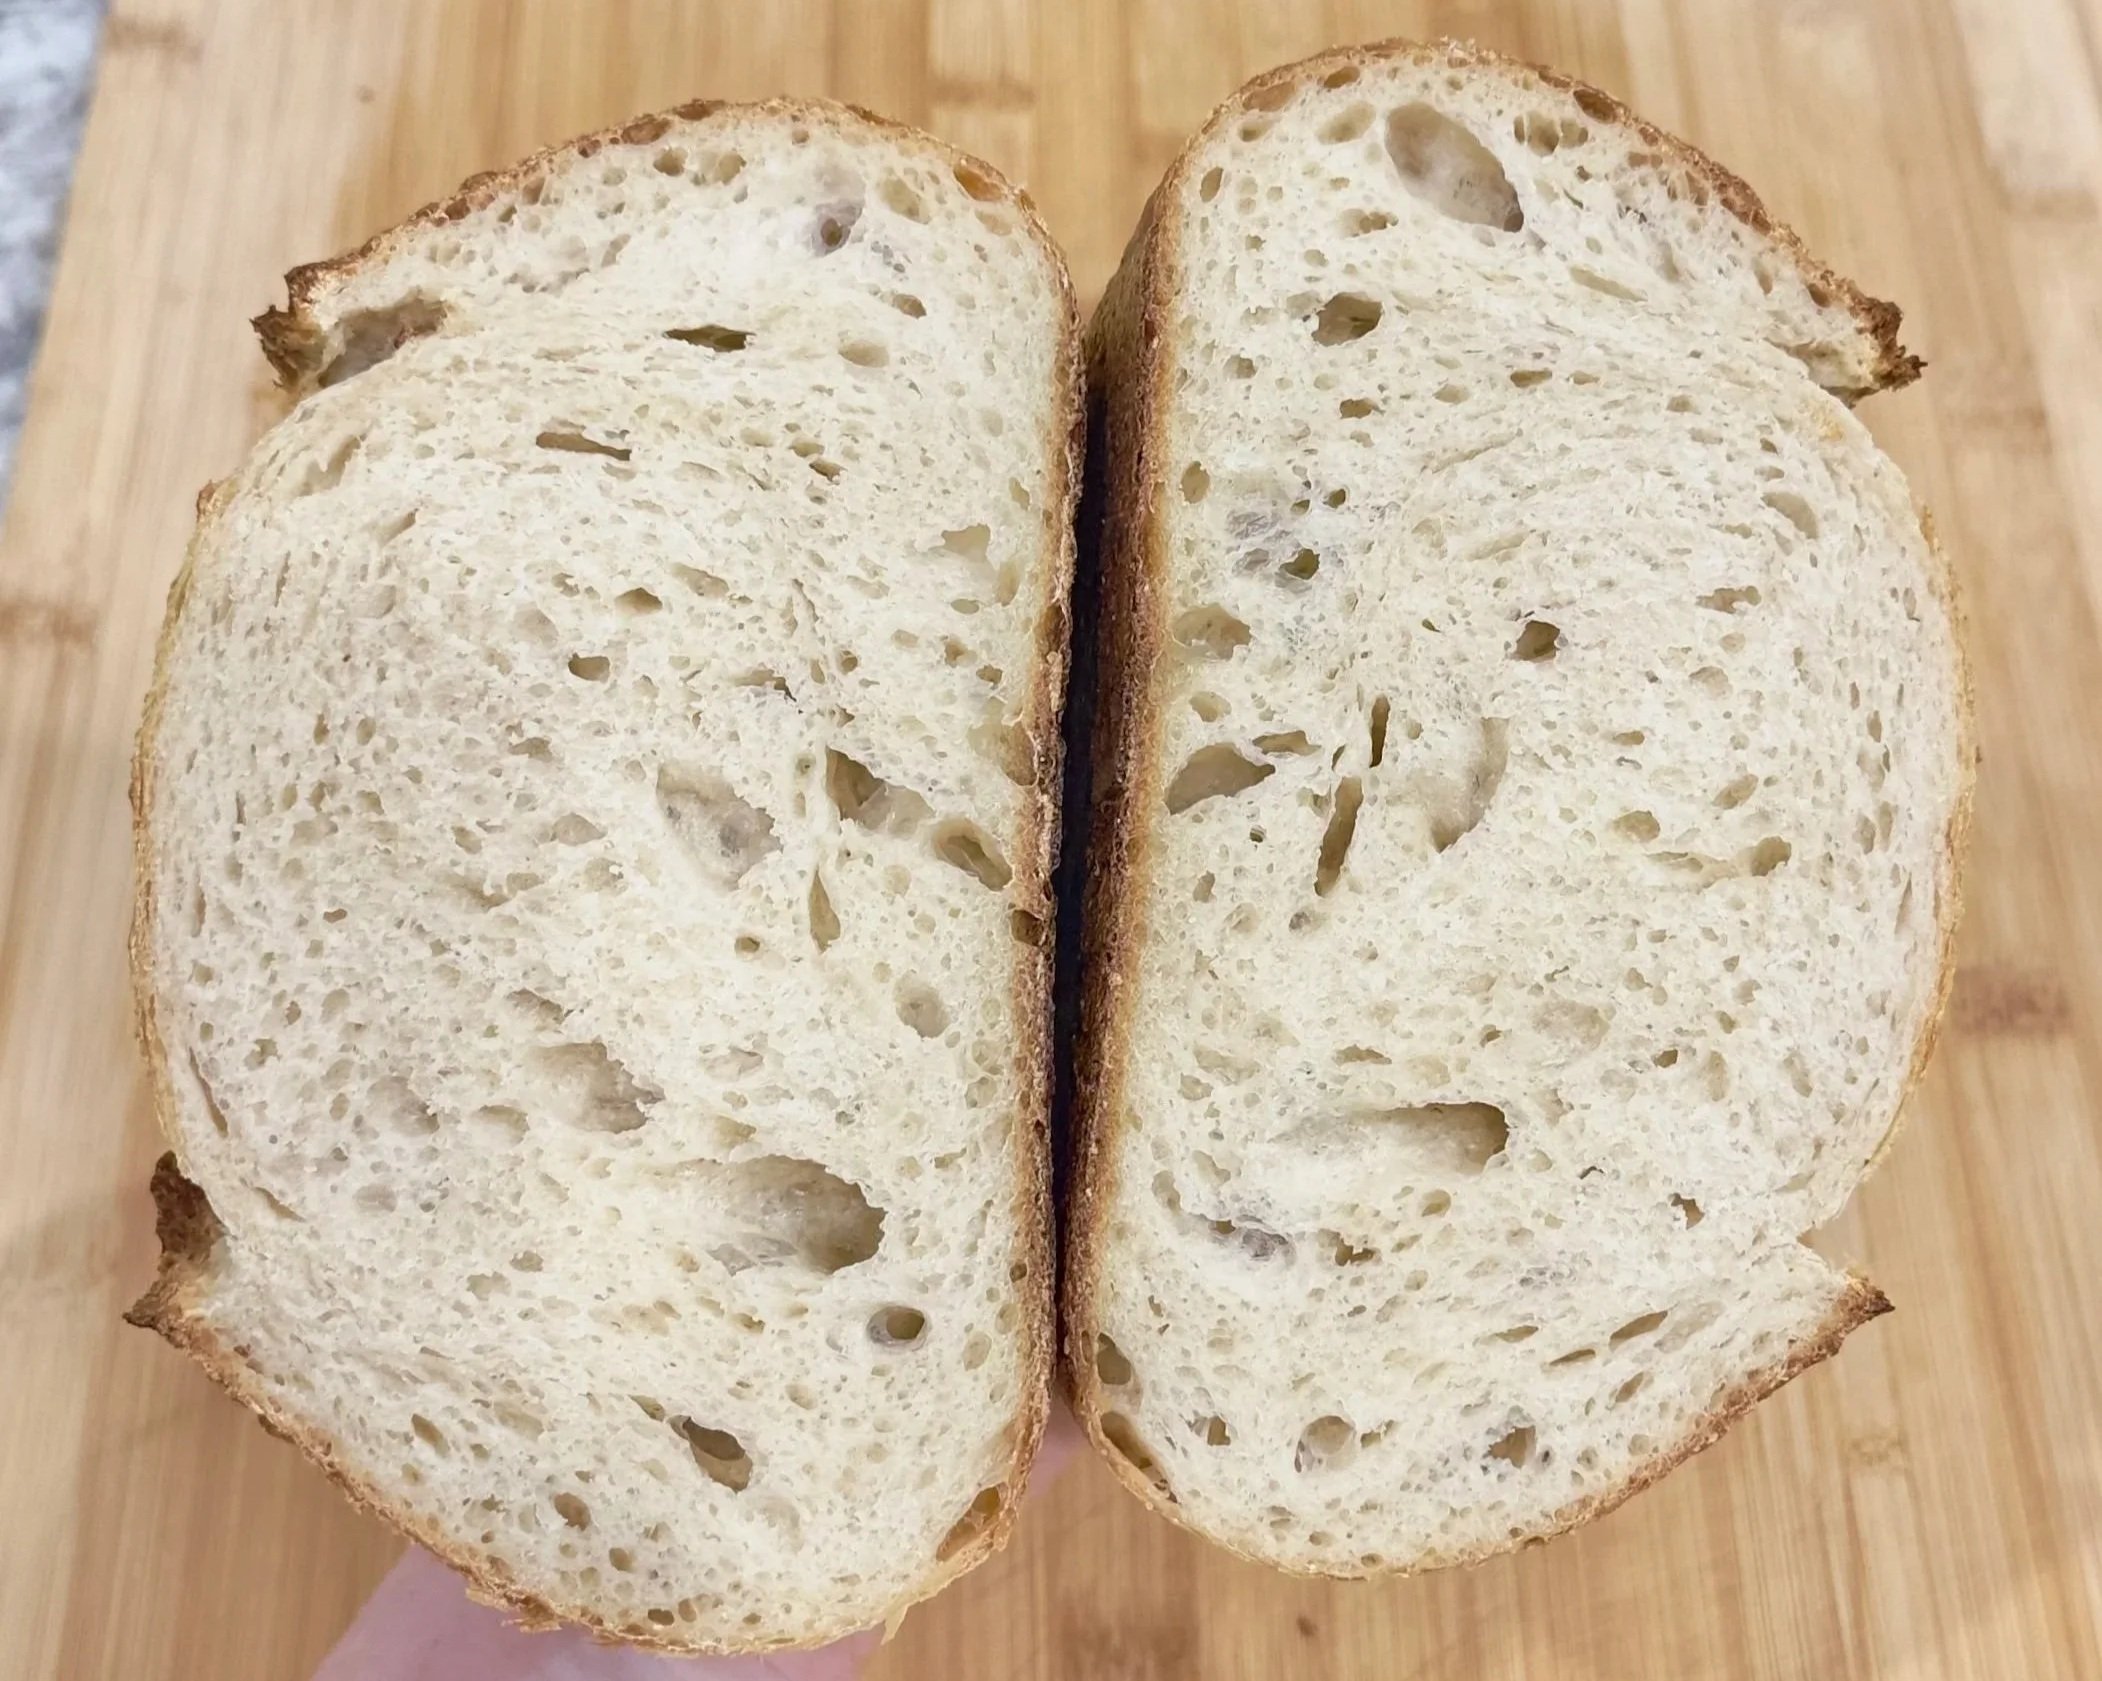
A crisp, blistered crust, a manageable, less-sticky dough, and a tender, open crumb without the fuss of endless stretch and folds. Made with a slow overnight cold proof for maximum flavor.
Prep Time: 40 mins | Bulk Ferment: 4-6 hrs |Cold Proof: 8-24 hrs | Bake Time: 40 mins | Yield: 1 loaf
Quick Baking Tips & Fun Fact
Fun Fact
Sourdough is one of the oldest forms of grain fermentation, dating back thousands of years to ancient Egypt. Because wild yeasts and lactic acid bacteria work together to break down starches and gluten, traditional sourdough is naturally easier to digest than standard commercial yeast bread.
Key Baking Tips
The KitchenAid Advantage: Using a stand mixer for upfront gluten development means you can skip the traditional 4 to 6 sets of stretch and folds. Over-handling low-hydration dough can actually knock out precious fermentation gases.
Quality Paper Towels Matter: Lining your banneton with paper towels prevents dough from sticking or picking up stray fabric lint. Be sure to use a thick, high-quality, durable brand so the paper peels away cleanly without absorbing into the crust.
Monitor Dough Temp: Relying on ambient kitchen temperature alone can lead to over- or under-fermentation. Checking the internal dough temperature is the most accurate way to gauge your bulk fermentation progress.
Why Lower Hydration and Stand Mixer Processing?
Hydration—the ratio of water to flour—fundamentally changes how a loaf behaves. While 75% to 80% hydration loaves flood social media with massive, wild holes, a lower 65% hydration dough is vastly more cooperative, easier to score cleanly, and yields a uniform, tender crumb that holds sandwich toppings without falling apart.
Similarly, relying heavily on manual stretch and folds is mostly necessary when mixing dough entirely by hand. By using a KitchenAid stand mixer on speed 3 right at the beginning, you rapidly build a strong, organized gluten network upfront. Adding extra stretch and folds past the initial two sets becomes redundant and can actually deflate the trapped gas your wild yeast is trying to build up, resulting in a dense loaf. Keeping handling to a minimum after the initial mix preserves those vital air pockets.
Mastering Bulk Fermentation: Dough Temp vs. Room Temp
Knowing exactly when bulk fermentation is finished is the trickiest part of sourdough baking, and standard recipe times are never one-size-fits-all because yeast activity is entirely dictated by temperature.
Ambient room temperature tells you how fast your environment is warming or cooling your dough, but taking the actual internal temperature of your dough with a digital probe thermometer gives you the true metric. Fermentation charts use this dough temperature to map out peak activity: warmer doughs (around 78°F to 80°F) race through bulk fermentation in just 3 to 4 hours, while cooler doughs (around 68°F to 70°F) require 6 to 7 hours. Always look for physical cues—domed tops, a few airy bubbles on the surface, and a jiggly, aerated texture—alongside your temperature tracking.
Ingredients
Sourdough Starter
50g Water
10g Whole Wheat Flour
40g Bread Flour
Sourdough Loaf
100g Active Sourdough Starter
325g Water
10g Salt
500g Bread Flour
Equipment & Supplies Used
Step-by-Step Instructions
Mix & Develop Gluten
Combine Base: Using a sturdy fork, thoroughly mix your active starter and cool water together in your stand mixer bowl. Add the bread flour and salt.
Machine Mix: Fit your stand mixer with the dough hook attachment and mix on speed 3 for 2 to 3 minutes until a cohesive dough forms and pulls away from the sides.
Stretch, Fold & Bulk Ferment
Initial Rests: Transfer the dough to a clean container. Perform 2 sets of gentle stretch and folds, spaced 45 minutes apart, to build structural integrity without overworking the gas.
Bulk Fermentation: Cover the container and let the dough finish its bulk fermentation at room temperature, monitoring your dough temperature to gauge when it is light, puffy, and adequately aerated.
Pre-Shape & Rest
Bench Scraper Pre-Shape: Gently turn the dough out onto an un-floured or lightly floured counter. Using a bench scraper, round it into a loose boule to build initial surface tension.
Bench Rest: Let the dough rest uncovered on the counter for 20 to 25 minutes depending on your room temperature so the gluten relaxes.
Final Shape & Cold Proof
Final Shape: Flip the rested dough over, give it a single tight clasp to build surface tension, and gently pinch the seam closed.
Paper Towel Banneton: Line your banneton with a thick, high-quality paper towel (to prevent lint and sticking), place your shaped loaf seam-side up, cover the surface securely with plastic wrap, and place it in the refrigerator for an overnight cold proof (8 to 24 hours).
Bake
Preheat: Place your Dutch oven or heavy roasting pan (with the lid on) inside your oven and preheat to 450°F (230°C) for at least 45 minutes.
Score & Covered Bake: Turn your chilled loaf out onto parchment paper, score the top with a lame, carefully transfer it into the hot Dutch oven, cover with the lid, and bake at 450°F (230°C) for 20 minutes.
Uncovered Bake: Remove the lid and bake for another 20 minutes until the crust is deeply golden brown and sounds hollow when tapped. For best results, check that the internal temperature reaches 200°F to 205°F. Cool completely before slicing.
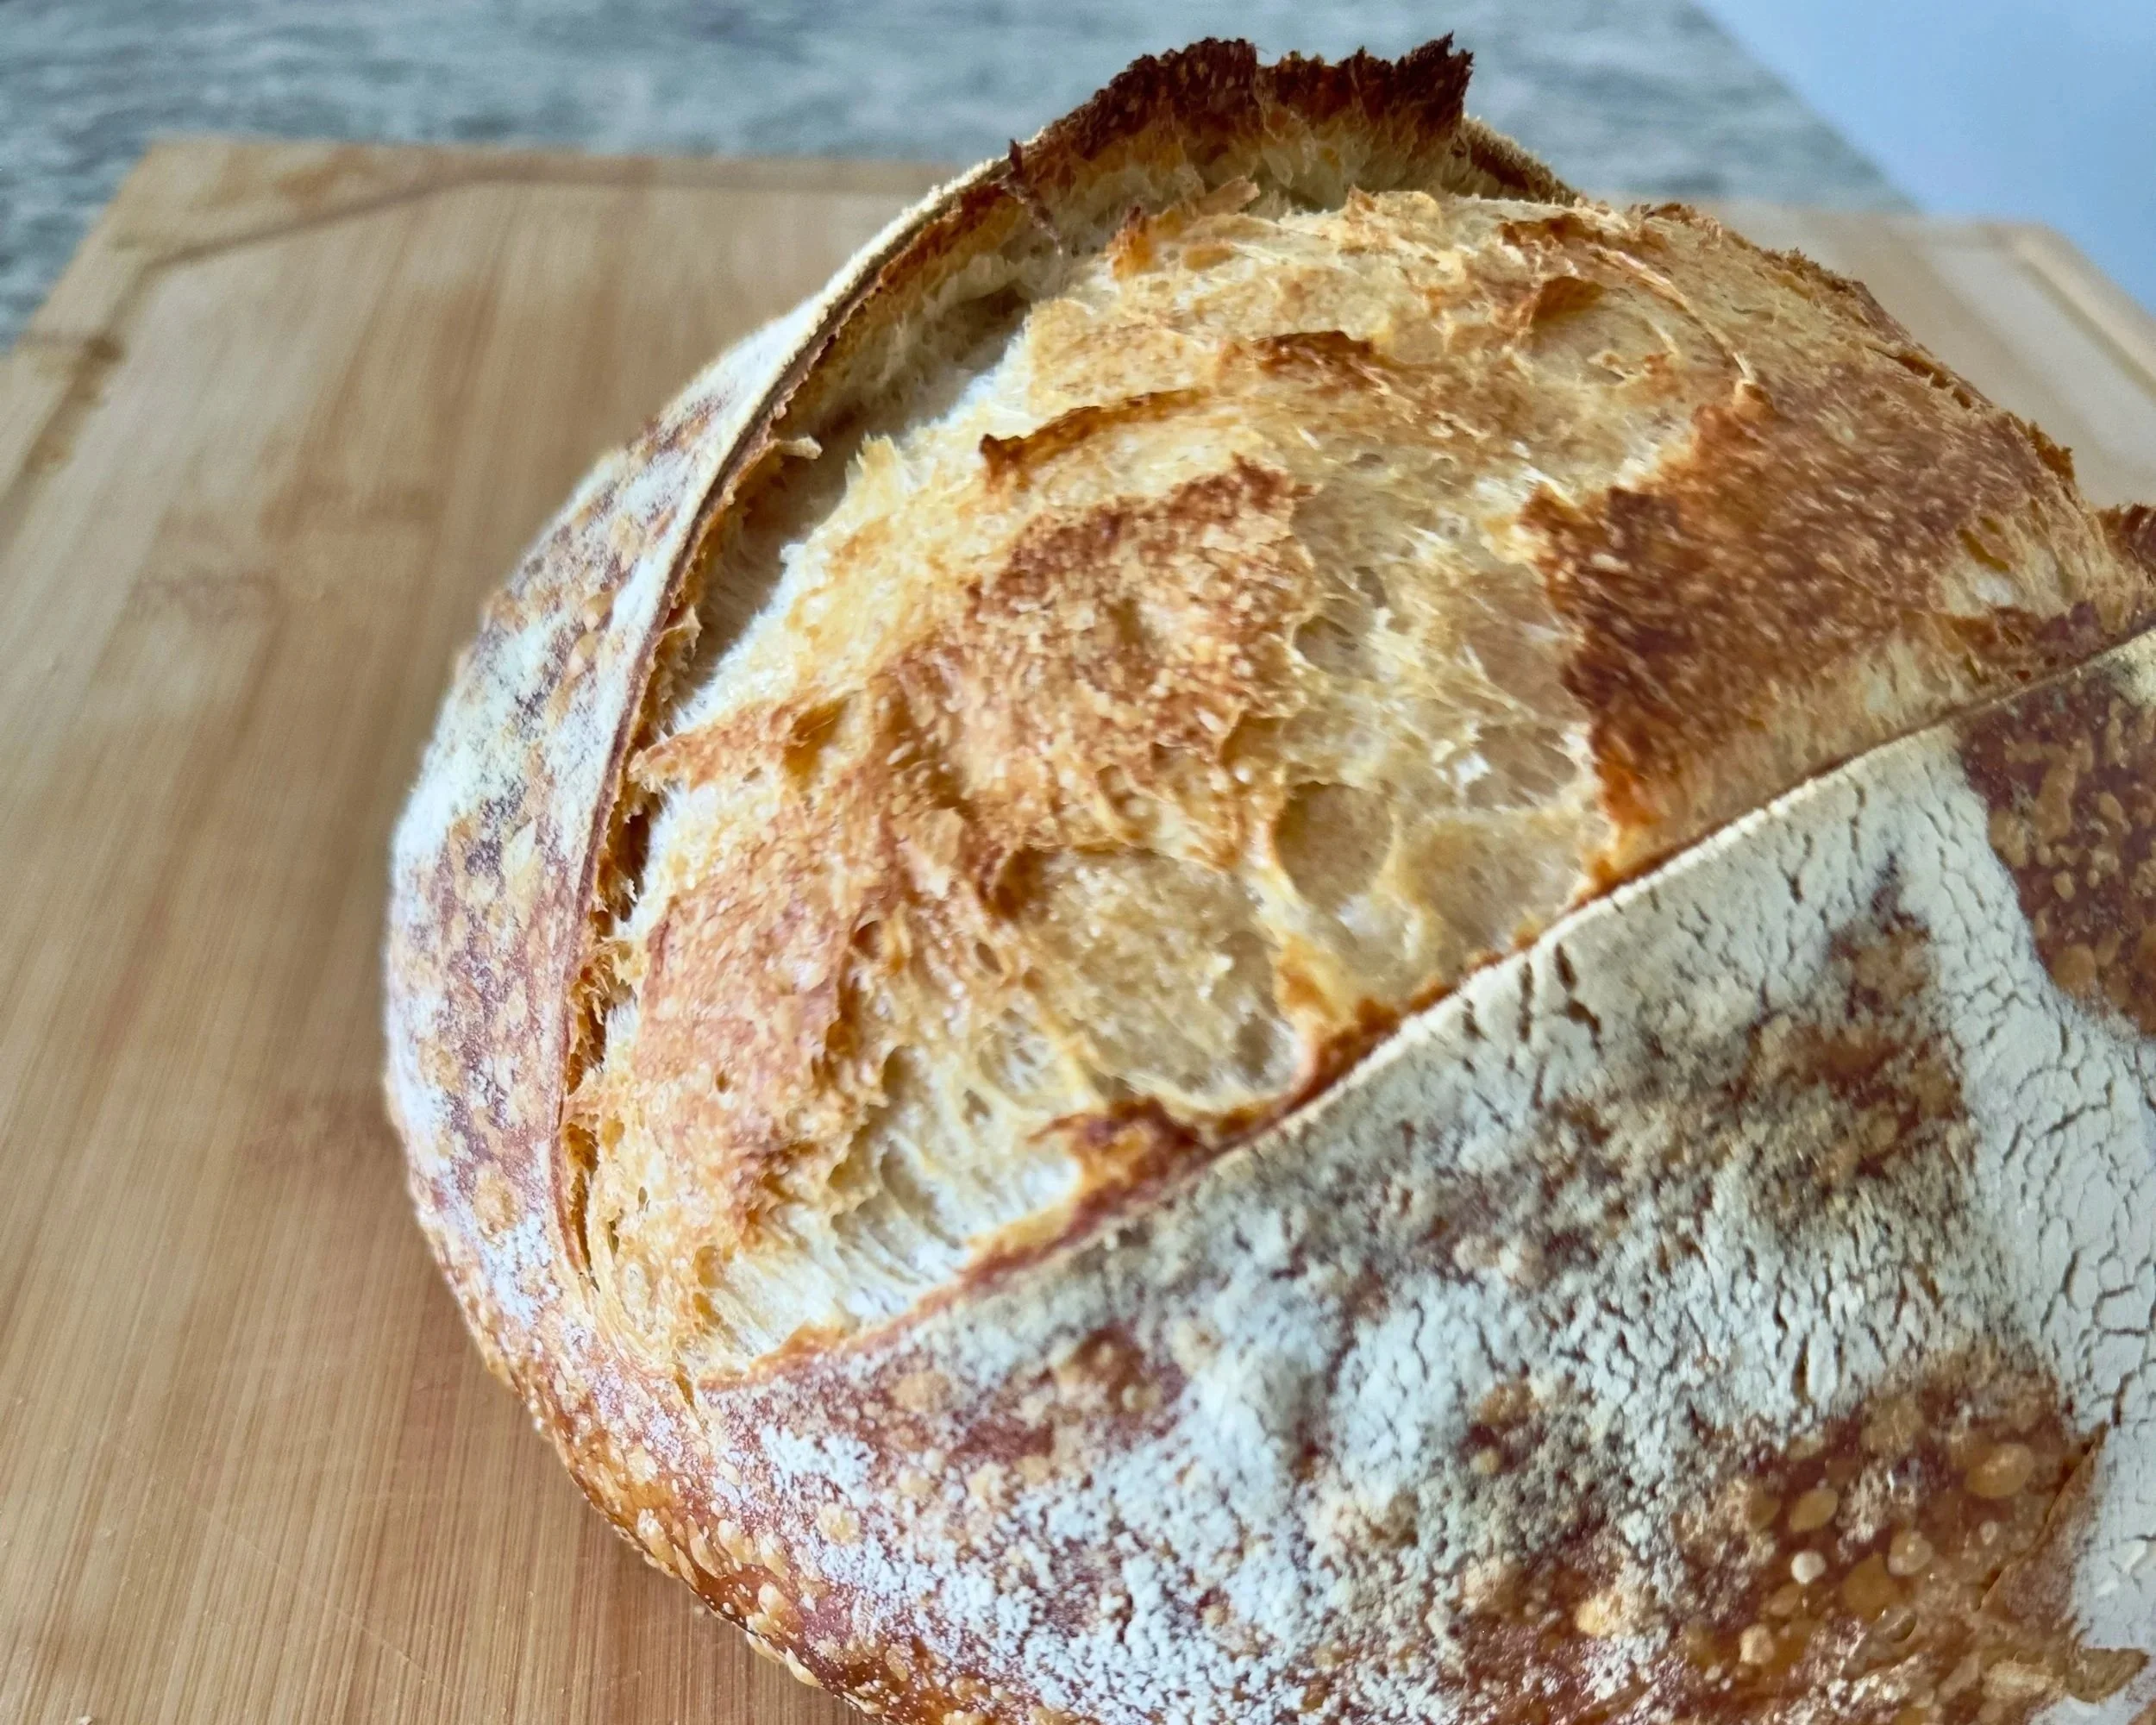
If you make these, don't forget to snap a photo and tag @SnazySweets so I can see your beautiful baking creations.
Happy baking!
-
This recipe is specifically calibrated for a wild sourdough starter. If you are adapting a standard yeast recipe, remember that natural sourdough requires significantly longer bulk fermentation and proofing times due to the wild yeast's gentler rise.